
Start with guest decisions, not a generic shot count
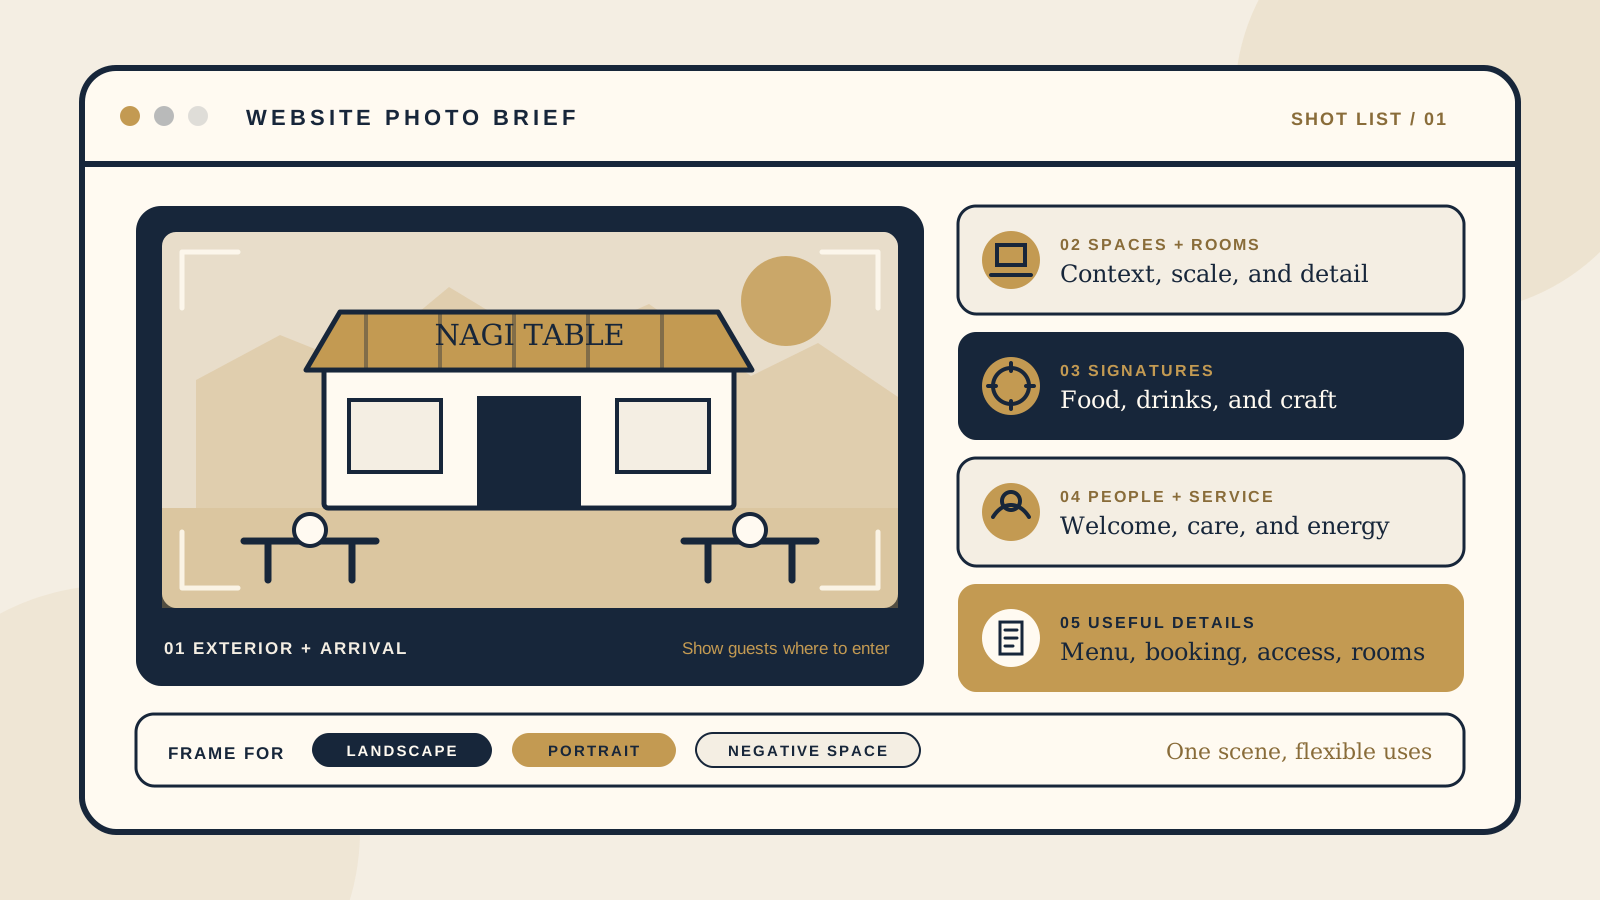
Before calling a photographer, list the decisions your website must support. Can a first time guest recognise the entrance? Can they understand the mood of the dining room, the size of a terrace, or the difference between room types? Can they see what makes the food, coffee, cocktails, or stay worth choosing? Each answer becomes a group of photographs with a clear job.
This is different from planning a social feed. Social photographs can document a current special or a lively moment. A website library needs a dependable set of images that explains the offer, works beside key information, and can be cropped for several page layouts. Our guide to restaurant websites and Instagram feeds covers how those two channels can work together after the shoot.
Share a page list with the photographer and designer before the shoot. Mark where the homepage hero, menu introduction, booking section, private dining page, room page, contact page, and mobile layouts will need visual material. A useful brief connects every planned frame to one of those places instead of asking for an arbitrary number of finished photographs.
Show the exterior and the real arrival
Photograph the venue from the approach a guest will actually use. Include a wide exterior that establishes the building, a closer view with the venue name visible, and the entrance from eye level. If guests arrive through a courtyard, hotel lobby, lift, laneway, beach path, or shopping centre, capture the point where uncertainty is most likely.
Then record the practical arrival details that affect a visit. These might include accessible entry, steps, a ramp, parking access, a host stand, outdoor seating, or the route from reception to a restaurant. The purpose is not to make every operational detail into a hero image. It is to make useful photographs available where directions or accessibility information need visual support.
Shoot the exterior in the conditions you want guests to recognise. If dinner is central, an empty midday facade may not express the evening welcome. If breakfast trade matters, capture the entrance when morning light, signage, and outdoor tables feel true to the visit. Remove temporary clutter, but do not hide a permanent feature a guest needs to navigate.
Photograph the spaces a guest is choosing
Start with an establishing view of each important space: main dining room, bar, terrace, counter, private room, pool, lounge, or garden. Then move closer. Photograph a table set for the real service, the view from a seat, and one or two details that express the material and mood. The sequence should help a guest understand both atmosphere and layout.
For a boutique stay, give every room category its own complete set. Show the sleeping area, bathroom, view, storage, work surface, balcony, and any feature named in the room description. Do not use the most impressive suite to represent a smaller room. A guest comparing room types needs honest visual differences, not a mixed gallery that makes the choice harder.
Photograph spaces both empty enough to read and active enough to feel inhabited. An empty wide frame reveals layout. A smaller scene with guests or staff can show warmth, scale, and service. If private dining or events matter, include the room in its usual configurations rather than only one elaborate setup. The related guide on a restaurant private dining page explains the information organisers need beside those photographs.
Capture signatures, people, and service
Choose the dishes and drinks that define the venue, not only the items that happen to be easiest to style. Include several recognisable signatures, one wider table scene, and the details that reveal craft, such as a finishing pour, coffee preparation, bread service, or a cocktail garnish. Confirm that photographed items will still be offered when the new site launches.
Mix clean menu views with moments that show scale and context. A tight plate photograph can make texture clear. A hand placing that plate on the table can show hospitality and portion scale. A wider frame can connect the food to the room. For cafes, include the offer beyond a single cup if breakfast, takeaway, pastry, or retail products are important reasons to visit.
People make service visible. Plan a welcome at the door, a server guiding a table, a bartender or barista at work, a kitchen moment, and a natural interaction between guests. Use real team members where practical, brief everyone on how the images will be used, and obtain the permissions your business needs before publication. Include options where faces are not identifiable so the designer has flexibility when a person later leaves the team.
Cover menus, booking, accessibility, and room details
A website also needs photographs that support practical information. Capture a current printed menu as an object in the venue, but supply the actual menu text separately for the page. Photograph the booking welcome point, takeaway pickup area, gift card packaging, private event setup, or room feature only when it helps explain an action or answer a likely question.
Make a separate list for accessibility information. Useful subjects may include a step free entrance, lift, accessible bathroom route, table clearance, or accessible room features. Pair each photograph with accurate written details. A photograph can clarify a feature, but it should not force a guest to guess measurements, availability, or whether the whole route is usable.
For accommodation, match details to the correct room category. Photograph the actual bathroom layout, bed arrangement, balcony, view direction, kitchenette, connecting door, or sofa bed mentioned in the copy. Keep a written record of which room and feature appears in every file. That prevents an attractive image from being placed on the wrong room page during the redesign.
Plan landscape, portrait, and negative space before shooting
Ask for each priority scene in both landscape and portrait framing. A wide homepage banner, a balanced article image, a tall phone panel, and a square preview all use space differently. Cropping one tight photograph into every shape can cut off the entrance, plate, person, or room feature that made it useful.
For hero candidates, shoot a clean version with negative space where a heading or booking button could sit. Capture options with space on the left and on the right, because the final layout may place words differently across desktop and mobile. Keep important subjects away from the extreme edges and take a few wider safety frames. Negative space should be part of the composition, not an empty patch added without purpose.
Tell the photographer which images are likely to sit above the first scroll and which will appear farther down a page. Google recommends relevant, high quality images while also asking site owners to balance visual quality with page speed. Your designer can create responsive versions for different screens, using standard HTML image elements and a src fallback. There is no single file size or pixel target that fits every photograph and position.
Confirm rights, captions, and the file handoff
Agree in writing on where the finished photographs may be used, how long those rights last, whether paid advertising is included, whether credit is required, and who can create crops or colour adjustments. Check permissions for recognisable guests, staff, performers, artwork, and branded products. Keep those records with the image library so a future update does not rely on memory.
Ask for the agreed high resolution finished files, not only versions compressed by a messaging app. Keep originals or master exports in one folder, then let the designer prepare website versions. Organise the handoff by subject and page, and use descriptive filenames such as terrace-evening-entry.jpg or garden-suite-balcony.jpg. Google recommends descriptive filenames because they provide a light clue about an image's subject.
Add a simple image register with the filename, subject, location, room or menu item, people pictured, usage notes, and an accurate caption if one is needed. Also note whether an image is informative or purely decorative. W3C explains that informative images need text alternatives that convey their purpose, while purely decorative images should use an empty alt attribute. Useful alt text belongs in context and should not be filled with repeated search terms.
Keep relevant written copy close to the images on the finished site. Google uses nearby page content, captions, filenames, and alt text to understand imagery. A beautiful photograph called DSC1048.jpg in an unexplained gallery carries less useful context than a clearly named image placed beside the room, dish, or arrival information it supports.
The final owner checklist
- List the guest decision and intended website section for every priority shot.
- Capture the exterior, venue name, entrance, and any arrival point that could cause confusion.
- Photograph every important dining area, service zone, and bookable space with both context and detail.
- Give each boutique stay room category its own accurate set, including bathroom, view, and named features.
- Choose signature food and drinks that will still represent the offer at launch.
- Show real service moments and obtain the necessary permissions for recognisable people.
- Record practical details for menus, booking, pickup, accessibility, private events, and rooms.
- Shoot priority scenes in landscape and portrait, with wider safety frames and useful negative space.
- Confirm usage rights, editing terms, credits, people permissions, and any expiry in writing.
- Hand over high resolution files with descriptive names and an image register that identifies every subject.
Review the contact sheet against the page list before the shoot ends. It is easier to add the missing entrance angle or portrait crop while the room, team, and table are still ready. Once the photographs arrive, the free Restaurant Website Quick Score can help you check the wider set of guest essentials the redesign needs to support. You can also use the restaurant website redesign checklist to protect menus, booking paths, and search visibility as the project moves toward launch.
Want a practical review before the redesign?
The US$35 Website Check reviews your live mobile journey, menu, booking path, essential information, visual clarity, and search basics. You will get a short priority list that can help shape the website brief and show where stronger photography would be most useful.
Get the US$35 Website CheckSources
- Google Search Central, Image SEO best practices
- W3C Web Accessibility Initiative, Images Tutorial
- W3C Web Accessibility Initiative, Decorative Images